Industrial Design lessons II

I keep adding more tools to my tool box, and expanding the knowledge of the tools already in use.  It is why I have some many projects going on.  I want to learn new things or more about things I already know.  I continue to invest in learning FreeCAD.  The tool amazes me, each time I use it.  I find it better and easier to use.  Practice practice practice…  Pick a tool and use it.   Well I’ve been tinkering with Tinkercad too, but with some residual AutoCAD skills from my school days.   I am more comfortable in the FreeCAD interface and methodologies.

I had always used OpenSCAD either standalone on in FreeCAD workbench, as my go to design tool.   Today I started testing an new module LCInterlocking for FreeCAD.  It is why the open source community is so great.   Great tool and then people invest their time to make modules for it to make it greater.   This tool seamlessly integrated into FreeCAD and has its own workbench and easy to follow video tutorials.

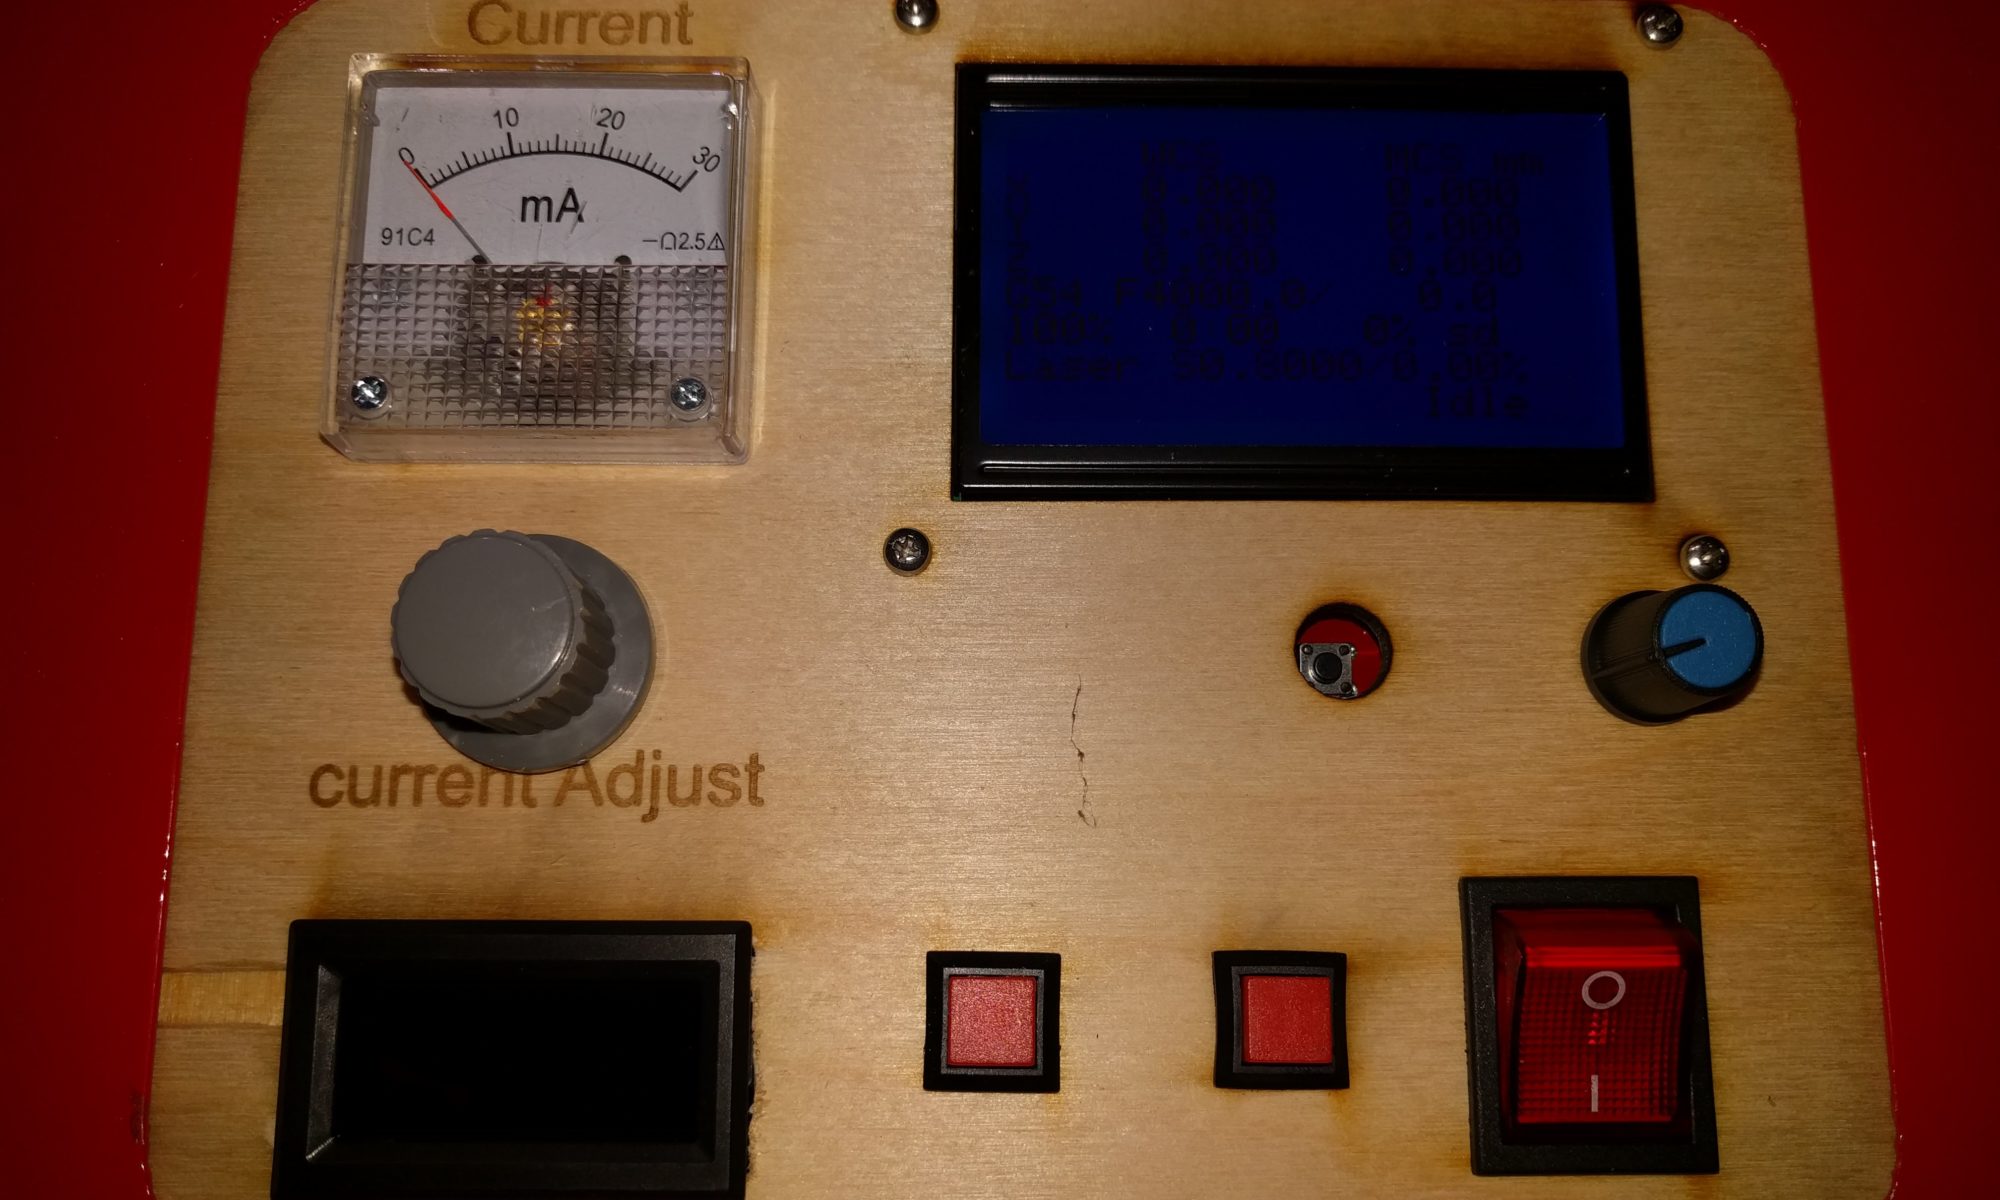
I still need to work on my Industrial Design but the new box has better tab strength and a slot for all connection access.  It is a little less visually appealing, but I though the original revision the tabs were too small.  The kerf  on the cut was too tight and the box was very tight to assemble.  I may need to adjust the laser cutter’s focal length to prevent tapper in the cuts.

I know what your thinking.  I should have added a place to include the switches in the box with access like these.   That is why you build projects to learn new tools and how to best utilize them.  I will just use the painter’s tape to hold them on top for now.

Industrial Design lessons

I am not an industrial designer, but I need to refresh some of the basics basics.  I had gotten a driver board for some old LCD screens that were salvaged from a Lenovo W510 laptop which overheated.  It was a great panel with high resolution and good black.    The driver board was great and easy to use, but lacked any case.  I have been using it as an extra display for configuring my Ordoid and Raspberry Pi’s prior to adding them to the cluster.    I found it much handier that a full monitor for quick an easy configuration.

Now that I have a laser cutter I can make custom cases for project so I don’t have to leave things like the driver board on my desk like a hazard.  I mainly use FreeCAD, but prefer OpenSCAD for 3D part creation .  I have not yet reviewed  or updated sheet metal fabrication and card stock box techniques into the CAD world.  I had learned back in the mechanical drafting classes taken in my past.  Yes I’m old enough to have taken pencil and paper drafting classes.   I guess that will have to be updated.   What to do to create plans for cases….

I headed over to MakerCase to build a box.    If you have not used their tool it is super easy, and has great results as you can see.   However, my ability to measure and line up the ports was lacking.    I also missed the check box for “inside dimensions”  so a bit tight.  My only reservation about the tool is there is not size control on the output.    That is a minor inconvenience that InkScape fixed right up.

I wonder if I should do a rev 0.2….   For another day….

Ansible Tower for the ARM cluster

I had been using Ansible from the command line interface to ensure all my nodes were installed the same.   I have to give credit to the companies that provide a license that is good for testing and development of their centralized management.  While it is limited it is great for testing in my ARM Big Little cluster.

“Self-support trial license that will not expire. Does not include features in Standard and Premium Ansible Tower, such as LDAP and Active Directory support, system tracking, audit trails and surveys.”

So I have spun up a x86 CentOS 7 VmWare VM so I could have a compatible platform to run Ansible Tower and the basic install is done and tested.   Now to begin the projects of configuring Projects, Inventories, and Roles so that node deployment and management of my nodes can be automated.

Docker swarm on Odroid XU4Q

Sometimes the easiest way to learn new things is monkey see monkey do.   So I started with the guide Docker Swarm, and updated it for my ARM bigLITTLE cluster.

The only major update from the MC1 guide is that the busybox image was no longer in the git hub or would not run so I used a different image.  It works as expected and if one of the nodes goes down the web “httpd” service spawns on a new node and starts responding to request.     I also changed the port for “Visualizer” as I had a conflict with another project running on the cloudshell2 data node of my cluster.

root@cloudshell2:~# docker service ls
ID NAME MODE REPLICAS IMAGE
3teh7qj0jist dsv replicated 1/1 alexellis2/visualizer-arm:latest
m44k0ueudh8b httpd replicated 3/3 hypriot/rpi-busybox-httpd:latest

My next step is to work on my own web service as I prefer nginx.     I have also built the mentioned 2+2 GlusterFS and plan to use this to run my containers from.

This has been a great monkey do, and I can see why docker is gaining traction in the enterprise, so expect to see more projects based on it.

ARM bigLittle Cluster

I started building a new cluster lab and went in for the ARM bigLITTLE CPU based on the  Odroid-XU4Q from odroidinc and hardkernel.com.   It is much cheaper to run all the time and allows me to test new things.  It is currently configured with…

TODO:

  • mariadb/mysql on Cluster with share file system.
  • Custom write my own Docks and/or containers.
    • Nginx Web server
    • App server or node.js server
    • containerize DB from above
  • Maybe switch to OpenStack
  • Ansible tower testing ground.

It is currently one Cloudshell2 with 4T of spinning media in a RAID 1, and 4 Odroid-XU4Q in a custom enclosure with eMMC boot devices for each node  and each node also has a SD drive in a 2×2 glusterFS mirrored stripe across all 4.   All connected via Gigabit Ethernet on a Cisco 3650.   I have one Raspberry Pi 3 node for  an odd man out to test ansible playbooks.