3DBenchy testing

Well I started getting serious about print quality, so here is a sample of the attempt to print the 3DBenchy test.  It took a few tries to get the roof overhang to print, but it came out nice.  SD3 always had issues with inside dimensions, but tuning has gotten it closer that ever.

DescriptionExpected size mmActual mmNotes:
http://www.3dbenchy.com/Solidoodle 3 ABS 0.1 mm layers
Roof2323.04
Smoke Stack Blind Hole1111.63wire probe
Smoke Stack OD76.98
Smoke Stack ID31.14
Horizontal OAL stem to stern6059.64
Horizontal Overall width3130.97
Verticle Overall height4848.32
Top of box Height15.515.6
Deck box depth99.16
Deck box stem to stern outside10.8110.8
Deck box stem to stern inside76.77
Deck box port to starboard outside1211.85
Deck box port to starboard inside87.69
Hawspipe ID43.96
Hawspipe flange0.30.34
Front Window Port to starboard10.510.21
Front Window Height9.58.68
Stern window ID98.76
Stern window OD1211.48
Stern windo flange0.30.32
High-Cain Spoon bow40 degreesn/ano protractor
Roof slope5.5 degreesn/ano protractor
Name plate0.1not measurable


Rice Cooker Adobo

Cooking in a rice cooker is great.   You get home from a long day.  Throw everything in the cooker like a slow cooker, but in the time it takes the second pot to cook rice, dinner is served.   You can go and work on other projects.

Here is my Chicken Adobo Rice Cooker Recipe.

  • two chicken thighs de-boned and cut into cubes.  
  • 2-3 bay leaves
  • ~1 tsp of black pepper corns
  • as much garlic as you can stand.
  • 1/4 cup of soy sauce
  • 1/4 cup of cane vinegar
  • 1/4 cup water
  • 2 tbsp Oil or fat.

First start a pot of rice in the other rice cooker.   If you do not have two? why not?  My little red non-stick cooker was less that $20 at target, which caries the Aroma now, but the Rival is at amazon.   It is not a Zojirushi, but it cooks chicken great.    More on the worlds best rice cooker another day, but I only cook rice in my Zojirushi so far.

Set up rice cooker and add Oil, bay leaves, pepper corns, and garlic.  Push the button and put on the lid to “saute” the garlic and spices.    If you lift the lid to stir you will likely have to hit the button again.  While that is going cut up chicken.  I normally freeze two boneless thighs in a easy to use single person portion.   Two minutes in my tiny microwave is enough to allow me to cut them into cubes.   50% power or defrost in a normal microwave.    They do not have to be completely unfrozen, and cut up easier if they are not.    Once the chicken is ready into the rice cooker it goes.  “saute” it briefly in the hot oil and spices.   A little browning helps with texture, but I’m lazy just a stir and in goes the sauce.    Add the soy sauce, vinegar, and water close the lid and wait for the rice in the other pot to finish.

There is a lot of talk about coconut milk which is not traditional(read not the way I grew up eating it), but makes a great addition to the sauce.  Swap out the water for coconut milk to get a rich and creamy variation on the sauce.

All in for Adobo pinoy

Serve Chicken on top of hot steamed rice.

ARM bigLittle Cluster

I started building a new cluster lab and went in for the ARM bigLITTLE CPU based on the  Odroid-XU4Q from odroidinc and hardkernel.com.   It is much cheaper to run all the time and allows me to test new things.  It is currently configured with…

TODO:

  • mariadb/mysql on Cluster with share file system.
  • Custom write my own Docks and/or containers.
    • Nginx Web server
    • App server or node.js server
    • containerize DB from above
  • Maybe switch to OpenStack
  • Ansible tower testing ground.

It is currently one Cloudshell2 with 4T of spinning media in a RAID 1, and 4 Odroid-XU4Q in a custom enclosure with eMMC boot devices for each node  and each node also has a SD drive in a 2×2 glusterFS mirrored stripe across all 4.   All connected via Gigabit Ethernet on a Cisco 3650.   I have one Raspberry Pi 3 node for  an odd man out to test ansible playbooks.

3D printing the legacy project.

One key legacy project for me is 3D printing.   I spent my hard earned kongbucks  on a Soliddoodle 3 when they first came out, over 5 years ago.  Long before, this attempt at documentation of my projects.

The SD3 got lots of complaints from the community, but mine has always worked.  Yes, I’m too lazy to alter the firmware to fix the slight discrepancy between inside dimensions and the 3D model, but when properly calibrated it is hard to measure how off it is.   My SD3  even has the original acrylic “jigsaw” extruder, which is claimed to get brittle and disintegrate.   Here is the printing of a spare graciously shared on thing a verse by its creator.  I try not to crash the print head which I assume is the cause of all those shattered acrylic print heads, but having a spare on hand will allow me to sleep at night.

https://www.thingiverse.com/thing:111213

I do not think any project shop is complete without a 3D printer, so I keep this one in working condition even if the company has ceased operations.   It is 100% self supported with the handful of dedicated individuals keeping documentation and forums sites online to help troubleshooting.  I would be lost without them.  If it prints there is no need to get a new fancy one even if you can get 3 monoprice units for the same amount of KongBucks. now.

If you have not considered  printing software.  I highly recommend Simplify 3D.   I got to use a friend’s copy and it was so good I spend my own hard earned kongbucks on a copy of my own.  They got my kongbucks, and I still recommend them coming from an open source free software world.  It made the difference between being able to just print what I needed without any fighting, and fighting to print things by trial and error.

https://www.simplify3d.com/


Now it has begun

The background shows my Orion Motor Tech 12″x8″ 40W CO2 Laser Cutter which started this whole mess.   Researching and finding upgrades for this machine is why I started this project documentation site.     It is far from stock and I only test fired the laser in the stock configuration before updates began.

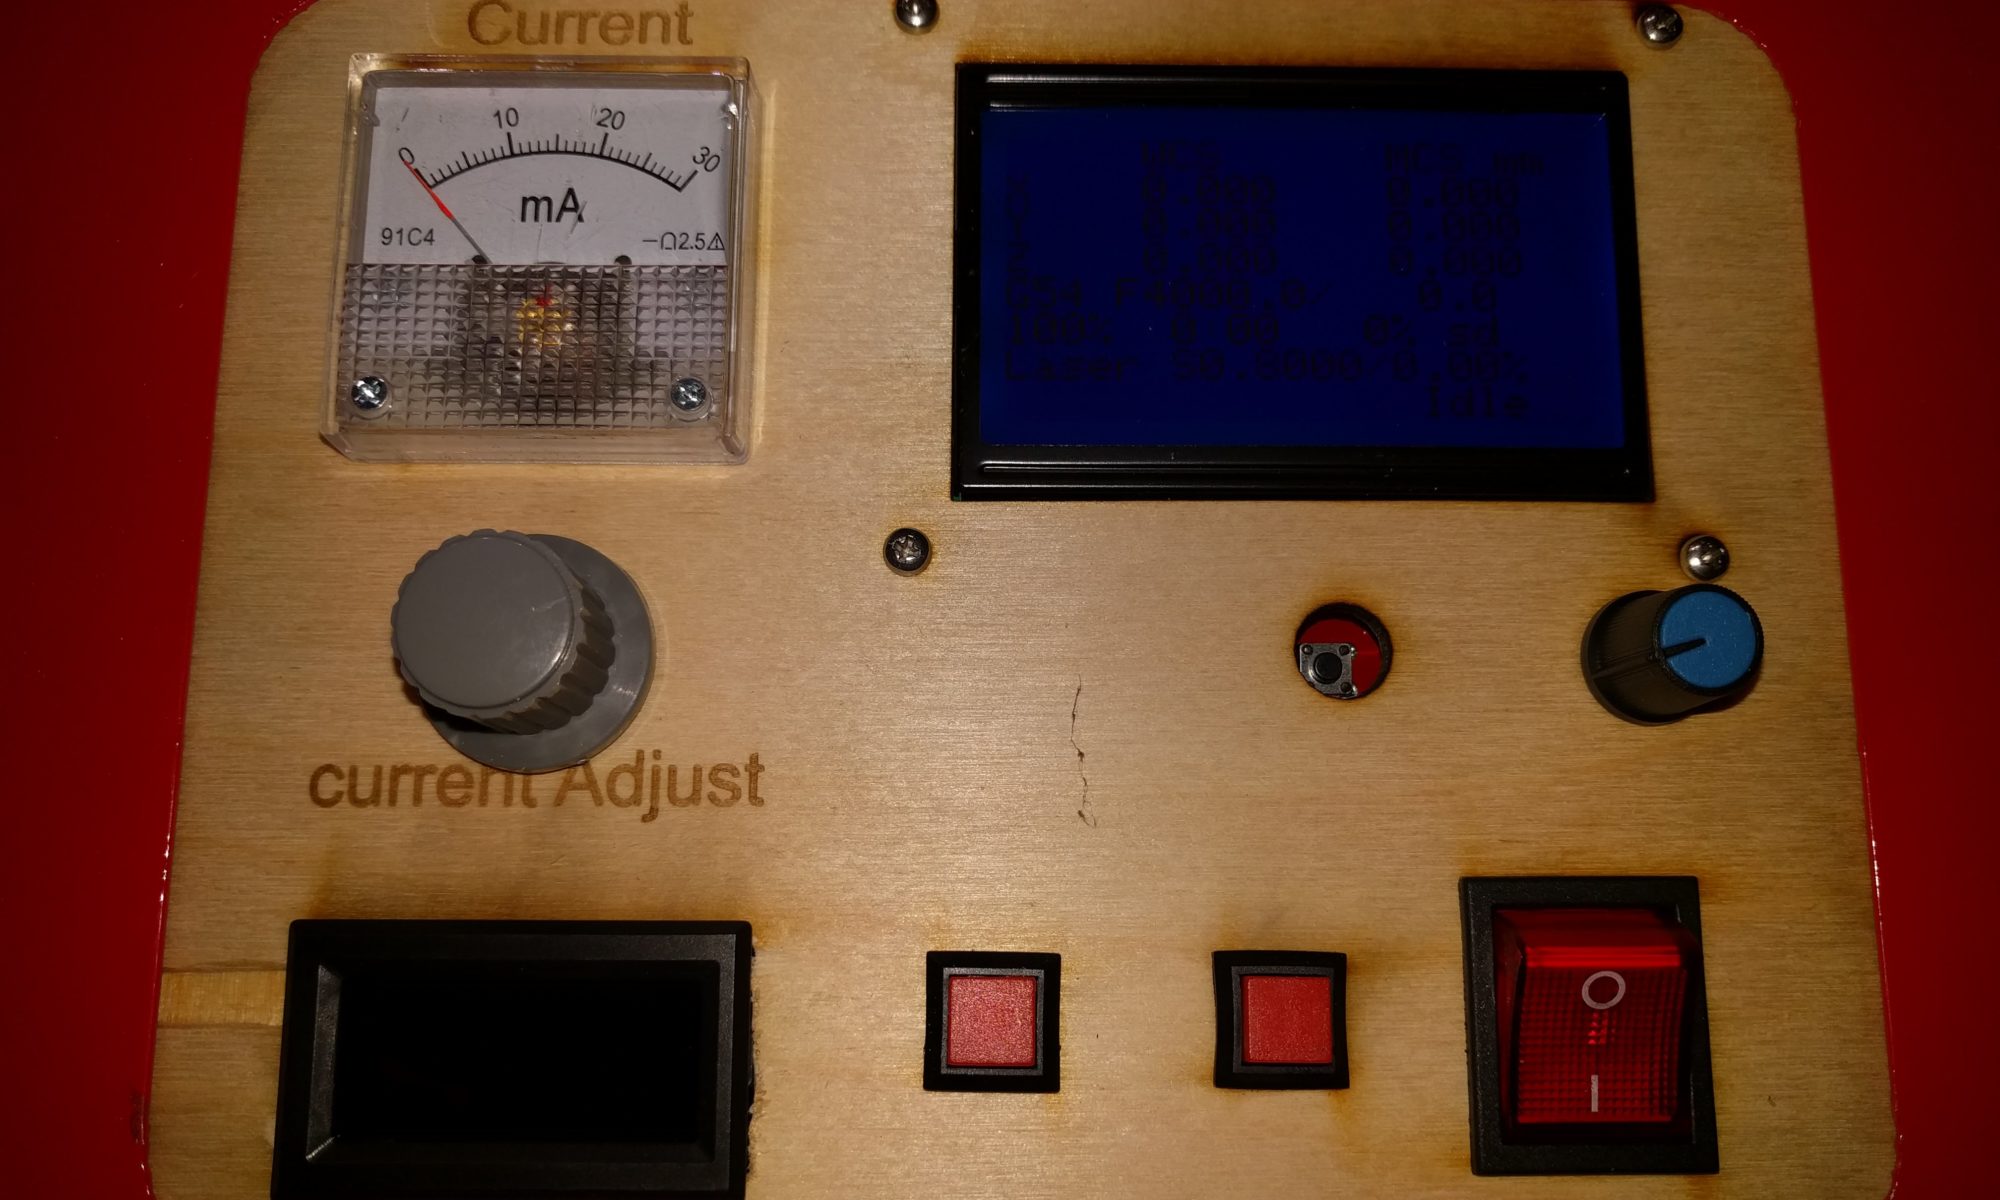
The first thing it cutout was the new front panel with new locations and items that I will document as I go.