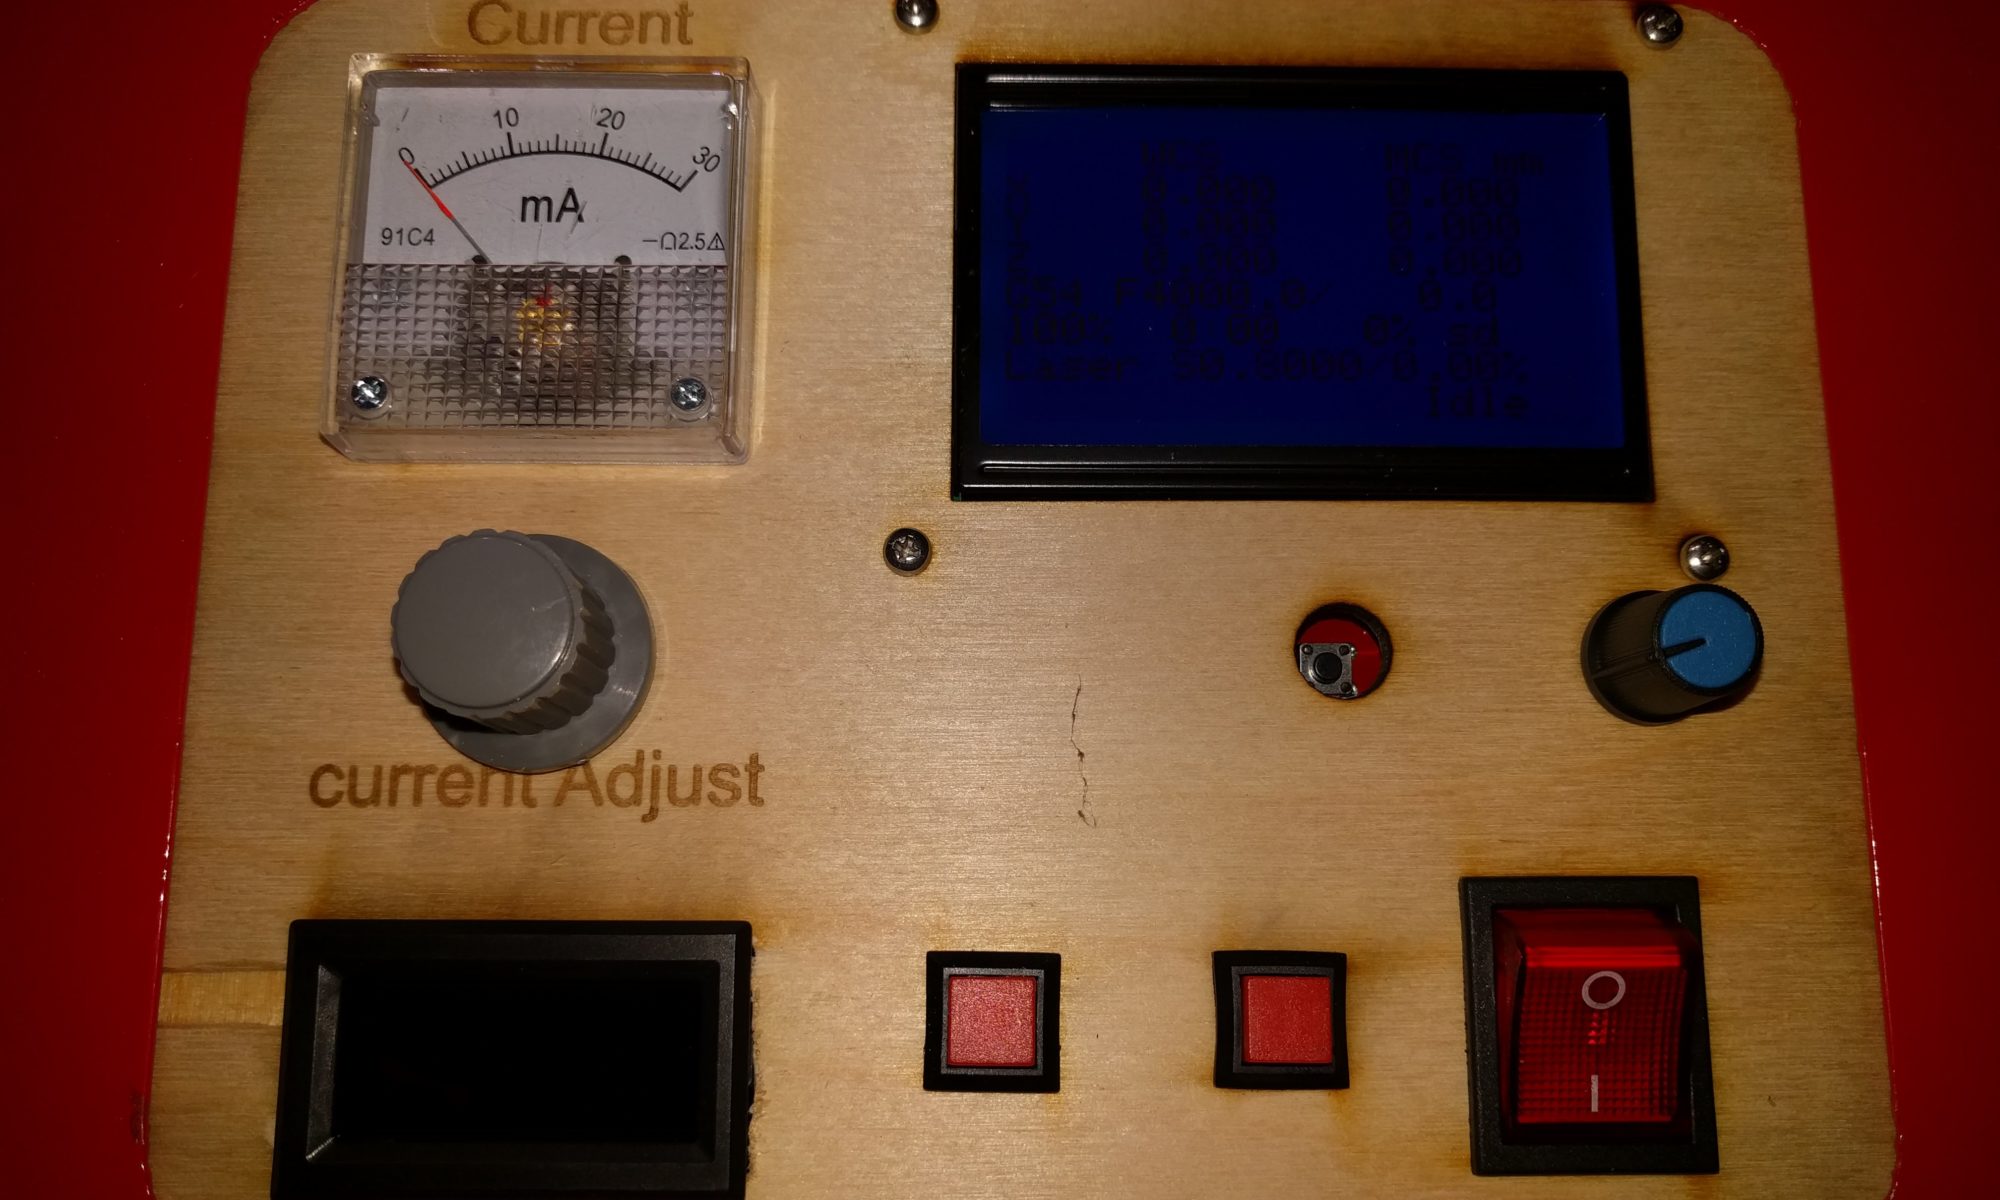
Just a little catch up on the documentation of projects. I was not in a rush as Cohesion3D has pretty complete instructions on the upgrade. It is a LightObject Z-table for my K40 laser.
I had pretty much installed the Cohesion 3D controler day one, but did not get the z-table installed until later. I cannot stress how easy the Cohesion3D mini has made using the K40 with the optinal LightBurn license. The upgrade to Z table required a high current stepper motor driver as well as an extra power supply to handle the extra power draw of the Z-table but the link above for instructions covered everything. I also got a spotting laser and some honeycomb bed installed. The honeycomb keeps objects from falling into the void. Testing shows it was very capable after the install. I have some minor annoyances to resolve like it homes the z-table between cuts which can be a time waster.
I had opened a can of chipotle peppers in adobo sauce for the carne guisada, and had to find more uses for it. I searched the net and found sevreral chipotle chicken recipes, so I gave it a go with what I had on hand.
6 chicke boneless skinless chicke thighs.
1 onion
garlic to taste
1 tbsp dried cilantro as I keep forgeting to buy fresh.
1 tsp chili powder
1 tsp paprika
1 tsp cummin
1 tbsp Mexican oregano
3-4 chipotle peppers in adobo sauce.
It was a pretty lazy maranade and cook. Use the mini-chop food processor to blend everything up into a paste and put in a ziploc bag with the defrosted chicken thighs. Let it marinade for 4 hours to overnight. Grill or cook in a convection oven like an air fryer or turbo cooker until done. Serve with spanish rice. If I had it to do over I would add the zest and juice of some limes to the maranade.
Rice cooker Spanish Rice
2 rice cooker cups of rice
1 tsp cummin
2 tsp chicke base
1/2 can of fire roasted tomatoes
1 tsp Mexican oregano
1 tsp dired cilantro
water to proper level on rice cooker.
What can I say I use the rice cooker alot. throw it all in push the button walk away. Fluff when it is done.
Well the other day I cooked a non spicy roast beef in mushroom sauce, but I still wanted Carne Guisada. Well I have upped my game and worked out a recipe that I think will do. After much research I just winged it, which is kind of my style. It was a great meal prep and made some flexable meal options.
1# Beef cut into chunks
1 White Onion
Garlic to taste.
1 Bell pepper
Jalapenos to taste
3 chilpoltle peppers in adobo sauce
1 tbsp garlic powder
1 tsp cumin
1 tsp paprika
1 tsp oregano
1 tsp garlic powder
1 tsp black pepper
2 tbsp flour to thicken.
1 tbsp beef bouillon (Knorr caldo de res)
water about a cup.
It is as “simple” as a beef stew can be. Make up about 1 cup of beef bouillon and add one tablespoon of flour and make a light slury. Cut up the vegatables into bite size pices. Leave the seeds in the Jalapeno and chipoltle peppers. Lightly flour the meat with one of the tablespoons of flour or corn starch. Brown the meat in a heavy skillet and then add the vegatables. Toast the spices in the meat and vegatables to bloom, once the vegatables have slightly softened. Add the slurry once the spices are fragrent and simmer until meat is thender and the sauce is thickened about an hour.
I love tomatillo salsa, and make big batches any time tomatillos are on sale. I picked up about 3 pounds at 49 kong cents a pound. Time to make the donut sauce. Yes, like Ethel and Franks Red Hot, it goes on everything!
about 3# of Tomatillos
4ish fresh Jalapenos
1 white onion
Garlic to taste
Juice of 3 limes
Cumin
Mexican Oregano
fresh cilantro if you remember it at the store.
Chop up the onions, garlic, and jalapenos and add in the lime juice and let the acidity of the juice cook the onions and garlic while you do the tomatillos. I added the oregano, cumin, and dried cilantro at this time as well. I forgot the fresh cilantro at the store. The longer this can sit at room temp the better to smooth the onion and garlic flavors. They get cooked almost like ceviche which mellows their flavors.
Husk and wash the tomatillos. spread on a cookie sheet and roast in the oven for about 20-30 minutes until slightly tender. I did this under the broiler so I could get the roasted look on the skins. I also cut them into uniform sized pieces.
Once the tomatillos are slightly tender I blend it all together. I had to use my sous-vide bin in order to have a big enough container to stick blend it all at once. I then jar it up in pint jars and “steam can” it in my insta-pot. WARNING: this is an untested method. I suspect my instapot is not hot enough for true canning so in the fridge it went when done. I don’t expect it to last more that a month anyhow. The cooking in the jars does smooth the flavor further. I did hold back one jar “raw” as it has a stronger bite.
It goes on everything and allow me to cook easy meals too. I even used some of the savory mixture to top some nachos before adding the green sauce ontop.
I do not have much of a sweet tooth, but when I get the craving only sweets will do. I have been reviewing minimal recipes as I do not want a whole pan of sweets when a small serving will do. I found both this Brownie in a mug, and this mug brownie recipe and put them together. It resolved my sweet tooth.
3 tbsp bread flour
3 tbsp sugar
3 tbsp cocoa powder
1/8 tsp baking powder
1/8 tsp cinnamon
1/8 tsp vanilla
1/8 tsp salt…Duh…
1 tbsp melted butter
1 tbsp light oil
First sift and combine the dry ingredients, and then add the wet ingredients to make a batter. I did this directly into my baking scale bowl as I was curious about the ratio of ingredients. 4 tablespoons is approximately 1/4 cup so the two inital recipies had similar ratios. It was about 30g of each and 3 tbsp is what I used. Note: don’t be a dolt and forget the salt as a pinch of salt will enhance the sweetness and flavor. I knew this but still left it out.
next divide the batter into two ramekins and top with chocolate chips. Microwave on high for 1 to 1.5 minutes depending on you microwave.
I did add a bit of baking powder which neither recipe called for, but was in a third which will remain nameless as their website cookie policy prevented the page from loading completely. You should not have to give away your privacy to see a recipe. The results were a bit crumbly but still moist. I think some more fat/oil may help with binding. I guess an egg could have been used but all recipes with eggs in them I saw recommended baking not microwave. I bet some ice cream would have prevented me from noticing.
Whole wheat or AP flour could have been used instead of bread flour, but it was what I grabbed first. Now what do I do with the second ramekin. I guess we will see how long it last in the fridge. I may experiment with it if I get a sweet tooth anytime soon. I wonder If it can be reduced to a single serving?
I have been craving carne guisada, but do not always want to eat spicier food. HEB my local grocery made the decision easy for me by putting shoulder roast on sale for $2.47/lb. Game on. Nothing like discount roast beef. I like to use KISS or Keep it simple stupid and took a approximately 3 pound roast and cooked it with minimal ingredients. Trimmed off some fat and about 1 pound of meat to keep back for stir fry later.
Modelo Especial
onion soup mix
canned mushrooms
salt
black pepper
2tbsp All purpose flour
2tbsp butter
about 2 lbs of shoulder roast.
Let the meat rest covered until it gets to room temperature. Preheat the oven to 375 freedom units or 190 world units. Heat a heavy cast iron dutch oven medium hign and brown the meat in a bit of oil. coat browned meat with salt and pepper.
Add the package of onion soup mix, and the beer. Cover and place in the oven for about 20 minutes for each pound of meat, but mine went for 55 minutes at 2.2 pounds. Note the beer and soup was about 1 inch deep in the pan and helps prevent drying out the meat. I turned it over once during cooking at about halftime.
Make a light roux with the butter and flour. Once the meat was 130-140 degrees on the meat thermometer. Pull it out to rest for 20 minutes. While it rests, put the roux and the canned mushrooms in the beer and onion soup left in the dutch oven to make gravy. Simmer until it is as thick as you like.
I portioned it out as my normal weekly meal prep one for me one to share with my parents, and a plate to eat right away.
I have been testing air frier recipes still and this second try at “fried” cauliflower for gobi manchurian is pretty close to perfect. It never made it into the sauce as I snacked it all up. My first attempt was good but I had some difficulty with the coating, so this time I cheated and used an egg white to help the coating stick. therefore this is not vegan like most Indian dishes can be.
3 tbsp potato starch
1 tbsp onion powder
1 tbsp garlic powder
1 tsp paprika
1 tsp 3 chili blend from supreme
1 tsp finely ground black pepper
1 egg white beaten
Mix all the dry ingredients and beat the egg white to a foam with a pinch of salt. I added oil to the egg white to assist with the browing in the air fryer. Clean the head of cauliflower and prepare into bite sized chunks. Dry completely the chunks and then toss them in the egg whites to coat. Sprinkle the dry ingredients on the chunks at this time and load the air fryer. Spray oil can be added in addition to aid in the browning. cook for about 15 minutes tossing every 5 minutes to ensure uniform cooking. tender on the inside and crunchy on the outside.
NOTE: I will add a sauce recipe once the cauliflower last long enough to add to a sauce.
When you cannot decide between Shrimp Alfredo or Carbonara, you have to let the ingredients decide. Well I did not have cream or half-n-half or eggs, but I did have some delicious shrimp stock from the shells. Well just work it out, and call it what it is not.
2 slices of oven cooked bacon
36-40 count farm raised shrimp about a 1/2 pound.
Unsalted butter
chopped garlic
1 tsp dried oregano
1 cup of shrimp stock.
1 tbsp of AP flour.
about 3/4 cup of three cheese blend.
The shrimp stock is a simple dashi style stock made from the shrimp peels and kombu seaweed simmered in water. Boil the Kombu in the water for about 5 minutes until the viscosity of the water changes. Then remove from heat and add shrimp shells. Steep like you would with fish flakes for about 5 minutes, ensuring you don’t boil the shells and draw out the bitter flavor. Only the sweet shrimp essence. It can be put in jars and saved for other recipies.
The pasta sauce was made by adding the butter, chopped bacon, and garlic to the wok and stir frying until the garlic is translucent. 1 tablespoon of flour is added to the butter and cooked until a white roux is created. I suspect a corn starch slury could be used for those sensitive to wheat gluten. One cup of shrimp stock and 1 teaspoon of dried oregano is added. biring up to a slow boil or simmer until the sauce starts to thicken. The three cheese ( asiago parmesan and romano cheese) blend, and shrimp is added at this time and tossed until the cheese is melting. Pasta is pre-cooked al dente added once the cheese is melted. I had rigatoni today, so in it went. toss until the shrimp is done but tender and remove from heat and serve.
Refrigerated pie crust have made meal prep with multiple flavors of quiche a quick and easy task. Todays flavors were bacon, cheedar, and mushroom or mushroom, zucchini, and three cheese blend. I also got a side of extra pre-cooked bacon as a bonus.
If your using the oven anyway you can just cook bacon in the oven as well to make it easier. If you remember the tin foil on the sheet pans you can make it super easy. It is as easy as 45 minutes on 400 turning after about 30 minutes.
I always cook one with meat and one with all veggies to off set the richness. I did not have any frozen spinach which is my go to, but I did have zucchini and mushrooms, and did some spring onions for a savory addition.
I get spoiled that my friends travel for work, as they give me stuff they don’t want to waste in their fridge. I was given a three cheese to blend and worked it into the quiche. Of course, it may have been a bit too rich, but the blend is delicious.
Just roll out the refrigerated pie crust. Fill them with fillings. Mix the fillings before adding the eggs. A mixture of eggs and half and half and salt and pepper. I use a dozen eggs and 1 cup of half and half for two crust.
I admit it. I am normally lazy and make kraut with vinegar, but sometimes you have to do it right. Fermentation is the only way, but it takes patience.
It is just three simple ingredients. Cabbage, salt, and caraway of fennel seeds. I went with the fennel this time as i was out of caraway seeds. Fennel gives a slightly different flavor which is less sweet and a bit more earthy.
The process is simple you mix the ingredients and mash the cabbage slightly so the salt draws out the moisture to create a brine that protects the frementation from oxygen. The ininal fermentation is done open for about a week to ensure the lactobacillus is present. Unless you can use organic cabbage which should have it naturally. The jars are keept half full to ensure minimal surface area.
Once the initial fermentation begines the jars can be combined and a vacuum applied to ensure the brine covers the cabbage and anaerobic fermentation can proceed. This also helps to prevent mold and fungus from creating off flavors. After an aditional week it will have fermented enough to use or move to the fridge for long term storage.
The final product can be simmered with beer and brats and served with a side of skillet potatoes.