“Low Carb” cottage pie, or I am slow on the uptake.

cauliflower_mash_cottage_pie_yummy

A friend I know is on a low carbohydrate diet and tries to cut carbs wherever he can. He recommended Cauliflower mash to top cottage pie. I never tried it, but I wanted cottage pie and only had one potato in the house. What is a cook to do. Well obviously use the cauliflower I had been saving for another batch of gobi manchurian but was too lazy to cook.

I doubt I will ever make cottage pie with mashed potatoes again. Lesson learned! The improved texture of the mash and the extra flavor made a huge difference.

cauliflower_mash_cottage_pie_ingredients
  • Cauliflower ~1 head
  • the potato I had
  • 2 tbsp butter
  • 1/4 cup of half and half
  • Ground beef about 1 pound
  • Frozen peas about 1 cup
  • Cubed carrots about 1 cup
  • chopped onion about 1 cup
  • 5-6 gloves of garlic chopped
  • 1 can sliced mushrooms
  • chopped celery about 1 cup
  • 3 tablespoons Worcestershire sauce
  • 1 pack of Mushroom gravy mix
  • 1 cup of caldo de rez
  • salt and pepper to taste
  • 1 tbsp dried oregano
  • 1 tbsp cornstarch in water

Well I did not have a whole head of cauliflower and only one potato, so I honestly used both. I had snacked on the cauliflower to finish off some garlic hummus I had in the fridge, so not really enough, so I used my last potato too. A quick steam in the Instapot about 5 minutes plus venting with both inside on the steaming tray. and just mash them together with a pinch of salt, a little butter and 1/4 cup of half and half. I don’t do diet so use butter.

I made the filling, While the mash was steaming. Pretty simple mix. Brown the ground beef, then add the onions and soften. Once the onions are soft add the carrots for about 2 minutes. Once they are on their way, add the garlic and stir until fragrant. Add the peas and then the mushroom gravy mix( in cold water as directed). I also added 1 cup of beef bullion at this time. I also added Salt and pepper to taste along with the oregano and Worcestershire sauce. Simmer the mix covered until the mashed mixture is ready about 20 minutes. I added the celery and drained can of mushrooms about half way through the simmer as I don’t like them to get soggy. Finally finish with a little corn starch and water to thicken up the remaining gravy.

So just like normal cottage pie. I put in the only oven safe vessels I have. Mini spring form pans and topped it with the mashed mixture. I put the pans on a baking sheet covered in parchment for easy clean up, as the spring forms leak a bit. I will get some reasonable ramekins one day that are a useful and uniform size. Broiled them to get a light brow on the top and this meal prep is considered complete. However, the mini spring forms make it easy to pop out the cooled pie for reheating in the microwave. They are also perfect single serving portions about 3 inches in diameter.
Tin Foil Hat Wallets and more leather craft updates

TinFoilHat_Wallet_MissionDarknes_TitanRF

I went to a talk ages ago at DefCon that discussed “drive by” attacks for RFID credit cards. My bank refuses to send me a card without “tap to pay” so I started making my own Wallets to protect myself. This Tin Foil Hat Wallets TM building is really why I started Leather craft, and here is my latest.

Tin Foil Hat Wallets TM

TinFoilHat_Wallet_MissionDarknes_TitanRF

I use a single layer of Mission Darkness TitanRF Faraday fabric bonded to the outer shell to provide the protection for the wallet contents. My last 3 Personal wallets used this construction technique. I am just now getting into the electronics of RF testing as being from Missouri the “Show Me State” I don’t believe anything I have not seen for myself. I will update accordingly as I determine the fitness of this Faraday fabric. I will post an electronics blog post once this is proven good.

Old_vs_New_TinFoilHat_wallet

You can see the improvement in the new form factor on the right over my last revision which went a year. The new “card wallet bi-fold” doesn’t have a bill’s pocket which was a hang up for me in the past. I just don’t carry cash like I used to. The old revision had the Titan RF in the cash pocket.

I will miss the Natural Veg-Tan patina but like the combination of the Wicket and Craig Slate Skirting sourced from District Leather Supply and Sunguard Sunflower from Sailrite made a much nicer compact wallet. The Skirting is very nice to the touch, and I see myself using some more of Wicket and Craig’s fine leather in the future. District Leather treats even small crafters like myself very well, and my orders from them have always processed promptly. It is why I do business with companies like them and Sailrite. Treating the small guy like one of your regular large volume customers always gains my business.

Sewing at the Limits for Leather Craft and more

Just_shy_of_the_Limit_of_UltrafeedLSZ-1

I made the decision over a year ago to go with the Sailrite Ultrafeed LSZ-1 It is a great compromise for hobbyist like myself. I want a cylinder arm machine but would never do with out my LSZ-1. I push the boundaries of sanity sewing things it may have never been designed to sew, but it has taken everything I have thrown at it and only broken down once. Sailrite made it right by sending me a replacement next day even after I told them what I was doing. I self repaired it and it continues to amaze me. They provide great YouTube videos for their customers on How To sew and repair. Here I sewed 3 layers of 5.5-6 Oz Wickett and Craig Skirting, just over 6MM about 1/4 of an inch. It handled it. I did get the thread tension mal-adjusted so it was not the prettiest stitching as after pulling the first attempt the existing holes in the leather caused the needle to wander and break a few times. Operator error.

V92_NeedsSize22_for6OZ_Leather

You can see here during my testing before I messed up the tension adjustment. Smooth even stitching and even backed up into existing holes evenly on top with the Size 22 needle. The bottom with the Size 20 was fraying the V92 size poly thread just a touch, so I moved up a size.

Hybrid Sewing

I Decided on the Ultrafeed LSZ-1 because I do a lot of hybrid sewing so it was a great compromise. Even if I push its limits. This padded chrome book case is an example. Canvas and leather sewn with a rubber backed carpet padding sandwich construction. Zig-Zag stitches to keep the padding in place in the panels and leather accents and gussets. I even used binding to give the inside a finished look with the Sailrite binding attachment. I could have gotten a bigger machine but would have had to give up zig-zag and sewing more delicate things with smaller threads. I just have to get creative on setup to sew some things like the leather handle loops.

Up Coming Leather projects

I have been testing steel rule dies to click out Leather craft project parts as I may start gifting or selling small scale goods. Here is a teaser of the Journal covers, card wallets, and flap top card wallets I’m testing construction on. Tin Foil Hat wallets TM will be as always a special request item. I tested pre-punched stitching holes too, but my hand sewing is worse that improper tensioned machine sewing. Not to mention I would have to charge a ton for my time. I could always sell kits like the people on that annoying pin subscription site which clogs google image search with mandatory sign up request before you can see image. Must be good business as he who pays google the most gets the top two pages of search results.

Chipotle Chicken Revisited

HoneyLimeChipotleChicken

I had toyed with a recipe for this in the past, but have been on a SousVide kick lately and realized that this could be done as a bulk meap prep. Sous Vide foods are pre-cooked and freeze easily ready to defrost and eat. I decided on a Honey Lime Chipotle Chicken with Cilantro Lime rice and some Pico De Gallo and three Bean salad. Just like my recent discovery of air frying to reverse sear Sous Vide cooked BBQ. I gave the chicken 5 minutes at 400 degrees to get a texture on the outside post Sous Vide cooking. This can be done after defrosting the frozen meal prep for the hot off the grill flavor and texture.

Pico De Gallo

PicoDeGalloIngredients

I love Pico De Gallo as it is a simple salad that can be converted into salsa with a stick blender. Here is what I use for mine. Tomatoes, Jalapenos, Limes, White Onions, and Cilantro with only a touch of salt and black pepper to finish it off.

PicoDeGalloReady
PicoDeGalloReady

I just cut everything up and mix it in a bowl. I then just put it in mason jars to keep. Normally I make Texas caviar too at the same time since it uses the same ingredients, but only had one can of black eyed peas so 3 bean salad was made instead.

Honey Lime Chipotle Chicken

HoneyLimeChipotleIngredients
  • 1/2 can of San Marcos Chipotle peppers in adobo sauce including sauce
  • 1/2 bunch of cilantro including stems
  • 2 tablespoons honey
  • 5 teaspoons of liquid smoke
  • 1 teaspoon of cumin
  • 2 teaspoon of dried oregano
  • 2 teaspoons of dried cilantro
  • 2 tablespoons minced garlic
  • The juice and zest of one lime
  • 2 tablespoons cooking oil
HoneyLimeChipotleSousVide

I use the mini chop food processor to blitz all the ingredients into a paste and then put boneless skinless chicken thighs in the paste to coat. I vacuum sealed it into bags ready for Sous Vide. I then placed the bags in the Sous Vide at 165 degrees for 2 hours.

Cilantro Lime Rice

I did a simple Cilantro lime rice by taking 1/2 bunch of cilantro and the juice and zest of one lime and mixing it into a rice cooker of freshly cooked rice. This is as simple as a flavored rice side can get.

Finishing it off

The chicken can be cut up and added to Burritos. My favorite local tortilla company La Ranchera not only makes great corn tortillas, but burrito wrappers that make about the perfect size burritos.

I have a feeling that I’m about to air fry some of La Ranchera’s corn tortillas into chips and make me some Honey Lime Chipotle Chicken natchos soon. I quit buying premade tortilla chips once I found out that the air fryer makes better ones from fresh corn tortillas with less oil that deep fried.

MakerMask build for respirator

MakerMask_dot_com_beta3

I always love the opensource maker movement. People will publish free to use things that are needed, and go the extra steps to get their designs reviewed by the NIH for “certification as community use.” The folks at MakerMask.com did just that. I love projects so I could not pass up the opportunity to print me a few.

MakerMask_dot_com_first_bite

It started for me as a friend

needed some work done on his new 3D printer to print some of these. I did some test prints on the printer after testing and decided I could print some for me as well.

I had to do some repairs to my old Solidoodle 3, which had gotten a cheap knock off E3D print head to replace the factory print head. Once I got the very annoying “air print” issue resolved. I began printing MakerMask. The beta unit to test fit and finish printed with little or no issues.

Assembly of the beta unit went smoothly as well once all the parts were printed. I did have to sand a few parts to ensure a snug fit. Once the 0.1 mm layer height was tuned on the printer. I could also print the valves. All the body and filter parts print at 0.3 mm layers to speed up printing.

The old Solidoodle 3 prints the body without too much drama once it is tuned up.

Now on to the next project while these print in the background. I estimate even at the 0.3 mm layer “fast print” these take about 10 hours on the Solidoodle 3 to print all the parts if I empty the bed and rotate the prints in a timely fashion. I have sourced some HEPA rated filters from some air cleaners to cut up and put into the filter housings once they are finished printing, as I don’t know the rating on available vacuum bags available.

Spring 2020 first planting DWC/NFT

Spring_2020_early_tent_view

It is not really 2020 yet or spring, but I have moved the seedlings from 2020 into the Hybrid Deep Water Culture/Nutrient Film Technique (DWC/NFT) system.

I also switched over to MasterBlend Tomato Fertilizer, Calcium Nitrate, and Magnesium Sulfate (Epsom Salt). I had been using it in my outdoor Hydroponics, but made the shift inside as well. I sourced it from Morgan County Seeds as recommended by mhpgardener on YouTube. I believe there a lots of re-sellers on amazon now. Morgan County was very friendly when I first ordered from them, so I’ll likely continue to do business with them. I use the recommended “The recipe for use in a hydroponic system is 12 grams Masterblend 12 grams calcium nitrate 6 grams magnesium per 5 Gallons” I mixed it a bit weak as the seedlings were still a bit young. I also adjust the PH into a good range between 5.5 and 6.5. This has been optimum for me in the past with the hard water here.

I also use this in the Kratky systems although dakineapproaches recommends another name brand with the same/similar formulation. My understanding is it depends on the region in which you live which brand is cheaper.

Once I got the PPM and PH set I moved over the Pak Choi and Komatsuna seedlings. They were a bit young still, and got a bit droopy. However most recovered by the next day, and I expected the stragglers to have a hard time as I removed them from the rock wool cubes so some root damage will require longer transplant recovery.

A little Kratky method on the side.

I had a few leftover seedlings, so I mixed up a quick pure Kratky method tub to keep the overflow seedlings in.

Prepping for the Outdoors

Spring_2020_early_Next_crop

Once I got the Indoor plants squared away in the tent. I started the seeds for the Outdoor hydroponics (Tomatoes and Jalapenos) and a big block of Lettuce plugs for the downspout system.

Early Spring Hydroponics Vinyl downspout system.

Vinyl_Downspout_Kratky_method_Net_cups2

Lets Get ready for Spring before Christmas! I already started some seedlings and ordered my spring seeds!

I do not deny that I watch a bunch of YouTube videos to find out how to do things. My Hydroponics endeavors are no different. My original hybrid DWC/NFT system was based on a video I saw. However, the cost of the vinyl fence post always troubled me. It is also special order at any big box store.

I recently saw the videos on “Keep on Growin’ with Mike VanDuzee” He is my kind of guy, always looking to reduce the cost of Hydroponic gardening. He has a series on using vinyl downspouts from the big box store to save cost. It easier to source and a bit cheaper that the fence post. I had to give it a go. I believe you can order pre-made units directly from him.

I also saw the “DakineApproaches” YouTube auto watering Kratky method reservoir indicators and had to add that as well. I could never thank BA Kratky enough for sharing his knowledge, and pushing me to learn more about not only design ideas but chemistry and nutrient utilization.

Let the making begin!

Vinyl_Downspout_Kratky_method_10ft_Honda

One quick trip the the Orange big box store. It always is amazing what you can stuff in a Honda Accord, like 10 ft vinyl downspouts and PVC pipes.

I decided to mix 2 and 3 inch net cups to provide the most versatility. One 10 ft downspout made into three 40 inch runs with net cups on 8 inch centers starting 4 inches from the end. I plan to use this for lettuce indoors as you can expect lettuce to bolt in the Texas heat. The larger cups can support Pak Choi as well. Lettuce will be a perfect Kratky Method crop. I just monkey see monkey do some rails to plant them in. Since I don’t have a yard at my house outdoor space is limited. The form factor is perfect for inside under the LED lights.

Vinyl_Downspout_Kratky_is_a_genus

Using the closed cell foam board in a pvc pipe to indicate fluid levels is as genius as the Kratky Method itself, and testing shows how simple it is. If you see the foam the reservoir has fluid.

All the skills and hobbies are tied together.

I did a quick mock up of an end cap in Lightburn and laser cut a test fit piece in plywood. I then cut out some acrylic end caps which are much cheaper that store bought fittings. I did not follow the example Keep on Growin’Mike VanDuzee where I first saw the downspout idea. He used a heat gun to fold up the downspout ends, but it leaves it open. I may convert this to hybrid DWC/NFT like the fence post model. I also am clumsy and don’t want any spilling inside. I also hate mosquito which TX has in spades. Of course I did not have any glue so 2 part Epoxy it is. It ran a bit and I will do a full leak down test as I am uncertain about the vinyl bond with the epoxy.

Now the wait on the seedlings begins, but he pak choi is sprouting.

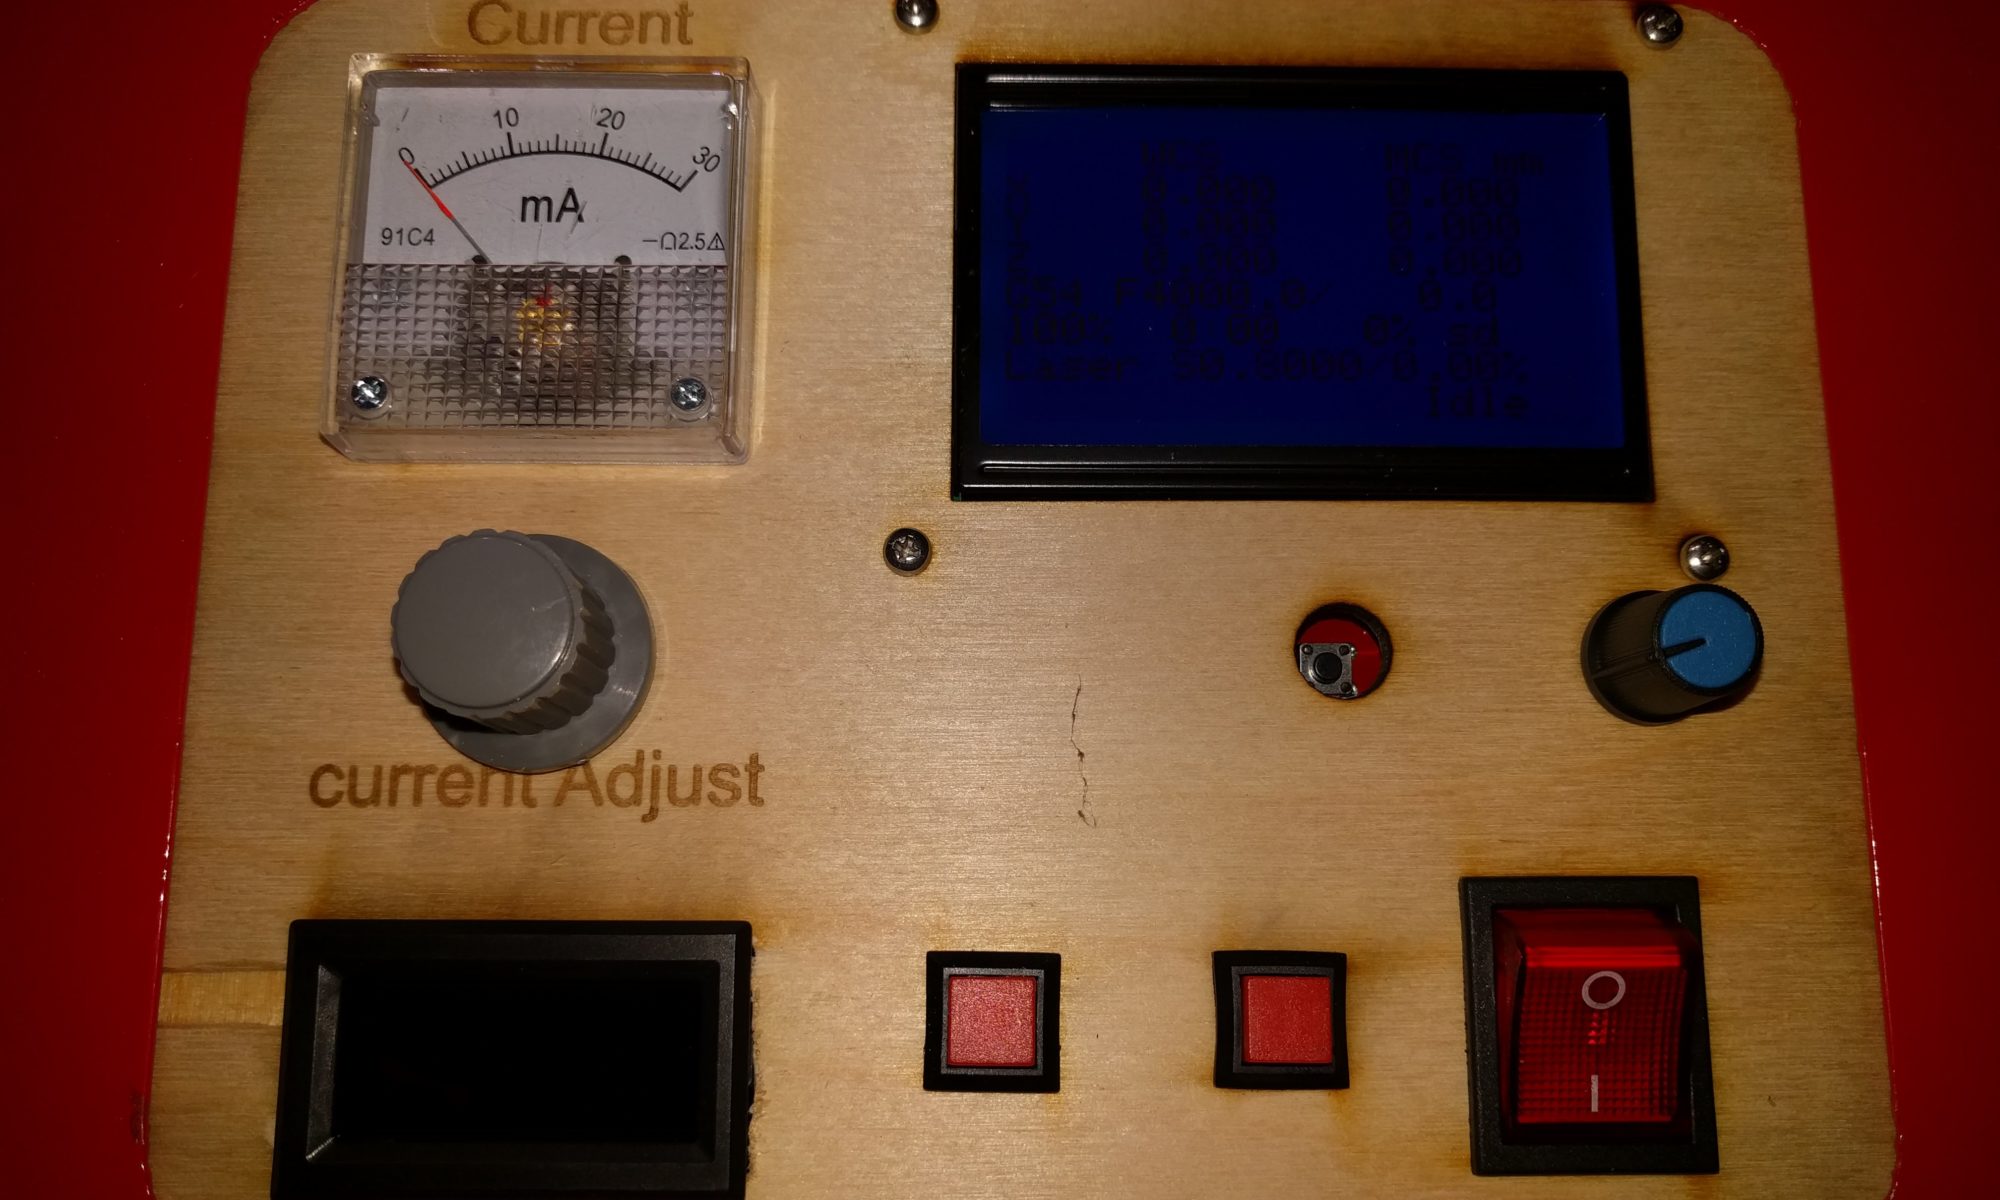
K40 for the Holidays and votive lanterns.

Candle_lantern_Nativity_SBJ

I’ve been in an odd holiday mood, and I am just as shocked as those people who know me. I normally get my Humbug on early and finish strong, so this early season spirt is an odd one.

Candle Lantern

I have been kicking around the idea and did a quick search on thingaverse and found thing 2755535, “Decorative LED Votive Lantern”. I loaded the thing up in Lightburn and sent it to the Cohesion3d Mini I had installed in my K40. Like magic the samples came out, and fit up nice. I got some LED Votives for them for safety. They are pretty nice for the less than half a kong buck price if you buy a pile. You cannot get the coin cell batteries for that to make your own.

Nativity Scene Votive Holder.

So now to satisfy my Christmas holiday mood I found some SVG files on Pixabay.com. The first was a Nativity Figures which I added the Star of Bethlehem and remixed the Thingaverse model in Boxy-SVG. I then fired up the Orion Motor Tech K40 with mods and presto like magic. Three wise men and their 3 camels visiting Mary, Joseph, a shepard, and his live stock all paying homage to Sweet Baby Jesus. The openings display images on the room backdrop.

Bonus Holiday spirt for others

Not everyone likes Sweet Baby Jesus holiday themes, so I gave thingaverse a search and found thing 603237. The Tie Fighter & X-Wing Laser Cut Ornaments were a bit hard to part out as they have tabs. But once freed from the card Tree Ornaments were had.

Now to decide if I should rush out some samples to all the friends and family for the Holidays…..

Sweet Tomato/Souplantation Asian Ginger Broth

asian_ginger_medium_product

My official taste testers sometimes go out to Sweet Tomatoes instead of having a meal at their house. Dad really likes their Asian Ginger Broth, and I agree with him. See the link for their recipe which they provide, but 16 cups is a lot of soup, so I tested some small batches at his request to duplicate it. I used chicken base instead of the recommended veggie stock as I don’t stock veggie base at my house. However I did reduce the base to about 1/2 strength so it did not over power the ginger and garlic. Here is their original recipe straight from the link above. I came up with a 2 cup version in both easy and medium difficulties. See below Souplantation.com’s recipe.

asian_ginger_original

Easy way Asian Ginger broth

asian_ginger_easy_ingredients
  • 1/4 teaspoon Ginger Powder
  • 1/4 teaspoon Garlic Powder
  • 1 teaspoon chicken base
  • 1 teaspoon of veggie oil
  • 2 cups of water
  • 1 teaspoon of corn starch in 2 tablespoons of water as a slurry.
  • 1 slice of tofu diced
  • 1 green onion sliced

This easy way works in either the microwave of the stove, and I tested both. If you do it on the stove heat the oil and bloom the spices for about 30 seconds, and then add the water and bring to a boil. Once it boils add the corn starch slurry stirring until clear. Poor over the cubes of tofu and green onion and serve. For the microwave just put the water, garlic powder, ginger powder, and oil in a a microwave safe container and heat till boiling. Once it boils add the slurry and cook an additional 20 seconds stirring frequently. Poor over the tofu and onions just like the stove top version and serve. The powdered spices do have a slight texture in the bowl, but not to any detriment.

Medium difficulty Asian ginger broth

asian_ginger_medium_ingredients
  • 1-2 cloves of garlic minced
  • 1 thumb sized piece of ginger minced
  • 1 tablespoon of veggie oil
  • 1 teaspoon of chicken base
  • 2 cups of water
  • 1 teaspoon of corn starch in 2 tablespoons of water as a slurry.
  • 1 slice of tofu cubed
  • 1 green onion sliced.

Just like the easy version stove top method. Saute the ginger and garlic in the oil until tender and fragrant. Once this is done add the water and the chicken base and bring to a boil. Once it boils add the corn starch slurry and stir until clear. Poor over the toppings and serve. See featured image for serving suggestions.

Curry Sacrilege

Curry_Sacrilege_meals_preped

I love being a hack of a cook. I have no shame in blending cultures and flavors. My latest was Curry Sacrilege blending a traditional Thai Yellow curry with a Indian Madras flavors. It made a perfect meal prep for the onset of cooler weather. The reality is I did not have the ingredients to make either traditionally, so why sacrifice. Tasty curry is all I care about.

I don’t peel my potatoes! I started out thinking traditional Japanese style curry because a friend taunted me with a photo of a recent batch he had made. I decided against the more traditional brown gravy of the Japanese style and went for the Thai Yellow, but was missing some ingredients. Also blending curry powder from scratch you can make it yours.

Curry_Sacrilege_pre_prep
  • 1 pound beef cut into chunks
  • 500g potatoes washed but not peeled
  • 500g carrots
  • 2 small white onions
  • Garlic to taste or a ton.
  • Fresh Ginger
  • 1 and 1/2 bell peppers
  • Juice of one lime
  • 1 can of coconut milk.
  • I wish I had lemon grass
  • homemade curry powder

Curry powder

I blended my own curry powder by adding the list below into my mini chop food processor and blitzing it until a fine powdered consistency.

  • 1 tsp Garlic Powder
  • 1 tsp Fenugreek seeds
  • 1 tsp Fennel seeds
  • 2 tsp of Indian three chili powder.
  • 1 tsp ground coriander
  • 2 tsp of turmeric powder
  • 1 tsp cumin powder

Curry process

I had the chuck portioned and pre-cut into chunks in the freezer so I defrosted it naturally and then added one thumb sized piece of grated ginger, 1 tablespoon of soy sauce, juice from 1/2 of the lime, and 1 tablespoon of mirin to marinate the meat. I would have added the missing lemongrass at this time chopped into a fine mess or grated like the ginger.

While the meat marinated I prepared all the vegetables by washing and cutting into bite size pieces. I don’t know why I peel my carrots, but not my potatoes. I also used the mini chop to make a garlic paste as it was already dirty from the curry powder. Normally I would have just chopped the garlic.

Brown the beef in oil or ghee. I used a combination of ghee and coconut oil as is my preference but vegetable oil would work. Once the meat is browned on the outside add the onions and garlic. saute slightly and then add the curry powder to bloom all the spices in the oils.

Once the spices are very fragrant add the coconut milk and the vegetables. Hot water or stock can be added to cover slightly and them simmer for at least 30 minutes until potatoes and carrots are firm but tender. Bell peppers can be added at this time as well as any spice additions like salt or i touched it up with a bit of Madras curry powder to add a bit more heat. I also added the juice from the remaining 1/2 of lime at this time to ensure the lime flavor was bright and came through a bit. 5 or so more minutes until the bell peppers are tender and portion out for meal prep.

Served with rice to double up on the winter starches.

Fall Bread Making

HighHydration_open_crumb

I love the fall as it is time to bake. I only do it in the fall as with an electric oven it heats up the whole house which can postpone the need for a heater here in Texas. I got to test 3 different types of yeast breads. I wish I could bake regularly so I could keep a sourdough starter alive, but I am just too inconsistent to keep one alive and healthy with baking bread once or twice a year weather permitting. I’ll continue to make the sponge with Active Dry Yeast as the shelf life on that still amazes me.

Low Hydration

The first loaves were low hydration at about 50%, which is expected with 100 percent whole wheat flour. I find it hard to make a full hydration with the extra bran. This bread came out almost like an Irish brown bread, but was a full yeast dough and not a baking soda and baking powder bread. Great flavor and mouth feel but very dense and a very firm crumb, with hardly any rise. so hard to make loaves with a dough this stiff.

High Hydration bread

The next set of loaves were a full high hydration almost 68% hydration. I mixed it 50/50 with bread flour and 100% whole wheat. It made almost the perfect crumb for my taste. Light and airy with a firm mouth feel. It also retained the full whole wheat flavor without sacrifice. You can see the comparison with the low hydration(roundish slice) on the plate below.

Is Skillet cooking flatbread really baking?

I also threw in some Pita breads into the rotation. I cooked them in the cast iron skillet instead of the oven stone. I prefer the oven stone but it has to be down right cold to cook with the oven door open and on full tilt. I refuse to run the A/C on high just to heat the house with the oven. Maybe a pizza oven could resolve this baking outside.